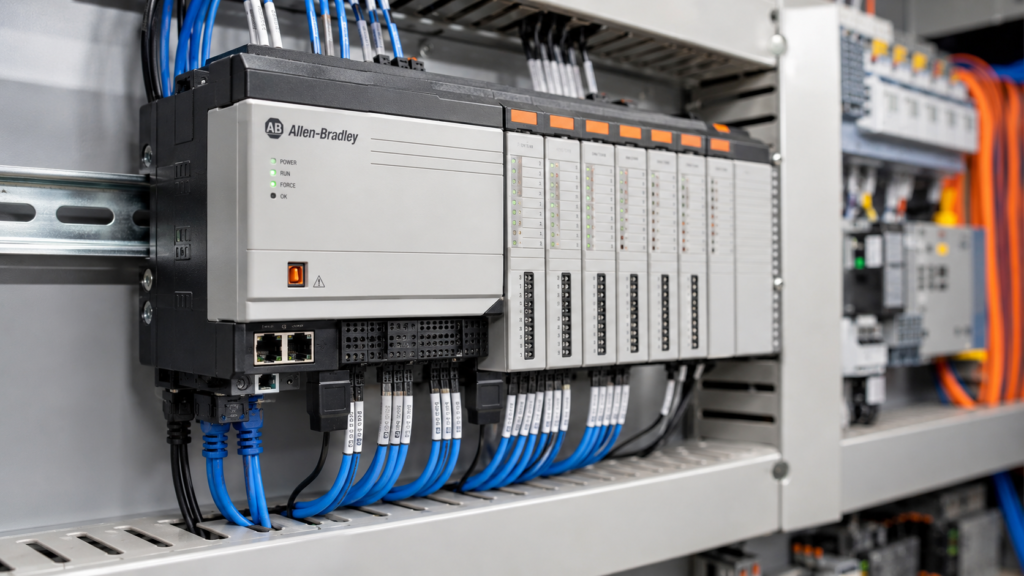
Going online with a running PLC is not the dangerous part.
The dangerous part is clicking the wrong button once you are connected.
A mistaken Download can replace the controller’s project. An accidental tag-value change can affect the machine immediately. Enabling forces may activate force values that somebody installed days ago and forgot about. Even a perfectly valid online edit can start a motor, open a valve or remove an interlock if it is tested at the wrong moment.
Studio 5000 gives you the tools to edit a running Logix controller safely—but only when you understand what each step actually does.
Safety warning: Never modify a running industrial controller without authorization, a verified backup and coordination with the people operating the machine. Place the equipment in a safe condition before testing logic changes. This guide covers standard Logix logic, not validated GuardLogix safety modifications.
Upload, Download and Go Online Are Not the Same Thing
Before connecting, understand these three commands.
Go Online
Go Online connects your open Studio 5000 project to the controller so you can monitor its current state.
The offline project must match, or correlate with, the project inside the controller closely enough for Studio 5000 to establish an online connection.
Upload
An upload transfers the project from the controller to your computer.
Controller → ComputerUse this when you do not have a trustworthy current copy of the program or when online changes may have been made since your file was saved. Rockwell defines Upload as copying the controller project into a project file through the current communication path.
Download
A download transfers the open project from your computer to the controller.
Computer → ControllerThis can replace the controller’s existing logic and configuration. Rockwell defines Download as sending the open project to the controller through the selected communication path.
Never press Download merely because Studio 5000 will not go online. Stop and determine why the projects do not match.
Step 1: Put the Machine in a Safe Condition
Before opening the project, establish what the machine is doing.
Check:
- Is production running?
- Could your edit start motion immediately?
- Is anyone inside or working around the machine?
- Are maintenance locks, bypasses or temporary repairs active?
- Does the operator know that PLC work is about to begin?
- Is there a suitable manual, maintenance or stopped condition for testing?
Do not assume that a small logic change creates a small physical effect.
Changing one normally open instruction to normally closed can affect every output controlled by that rung. Editing a shared permissive can influence several machine sections at once. A value that looks like a harmless timer preset might be used in twenty different places.
Step 2: Obtain the Correct Project
Use the latest approved .ACD file where possible.
Before connecting, create a separate backup:
MachineName_before_edit_2026-08-05.acdDo not overwrite the only known copy.
Studio 5000 does not provide automatic project-file versioning. Rockwell recommends using Save As or manually copying the file when previous versions need to be archived.
Record the basic information:
Controller name:
Controller type:
Firmware revision:
Machine or line:
Original file name:
Date and time:
Reason for change:
Person making change:
This feels a bit excessive when the requested modification is “just one rung.” It feels much less excessive when someone asks three weeks later why the machine behaves differently.
Step 3: Open the Communication Browser
Open the project in the correct major version of Studio 5000.
Then select:
Communications > Who ActiveDepending on the Studio 5000 release and communication software in use, the browser may be shown as Network Browser.
Expand the appropriate communication driver and find the target controller. Verify:
- Controller name
- IP address
- Controller model
- Chassis and slot, where applicable
- Communication path
Do not select a controller merely because its IP address looks familiar. Similar production lines may use nearly identical projects and controller names.
Highlight the intended controller and, when appropriate, select:
Set Project PathThe communication path is used for Go Online, Upload and Download operations, so confirming it before proceeding is rather important.
Step 4: Select Go Online
With the correct controller highlighted, select:
Go OnlineStudio 5000 will attempt to correlate the open project with the project in the controller.
When the Projects Match
Studio 5000 should connect directly. The controller status bar will show the operating mode and online state.
When Online Changes Can Be Correlated
Studio 5000 may automatically update the open project with compatible changes that were previously made online. Changes made by other connected users can also be reflected while you remain online.
When the Projects Do Not Match
Stop and read the message carefully.
The safest option is often to upload into a new file, particularly when you cannot confirm that the offline project contains the latest logic.
For example:
MachineName_uploaded_2026-08-05.acdRockwell specifically provides the option to upload into a new file when the open project does not match the controller. Downloading instead may overwrite online changes that exist only inside the controller.
Do not turn a connection problem into a production outage.
Step 5: Inspect the Controller Before Editing
Once online, do not start changing logic immediately.
Spend a few minutes checking the current condition.
Confirm the controller mode
The controller will normally be in Remote Run when online edits are being made to an operating machine.
In Run mode, the controller executes logic, reads inputs and controls outputs. In Program mode, logic execution stops and editing operations are available. Changing modes can affect the machine, so never switch to Remote Program simply because an edit option is unavailable.
Check for major faults
Look at the controller status and diagnostic information. Do not begin modifying logic while an unrelated controller or I/O fault is active unless that fault is part of the work.
Check for existing online edits
Another engineer may already have pending or test edits.
Look for:
- Pending edits
- Test edits
- Edit-zone markers
- Routines displayed with original and test versions
Do not assemble or cancel another person’s edits without understanding what they are.
Check I/O forces
Inspect the online force status before doing anything else.
A steady force indication means I/O forces are enabled. A flashing indication means force values are installed but currently disabled. Enabling forces can make every installed force value take effect immediately.
Do not blindly select:
Enable All I/O ForcesLikewise, do not remove all forces simply to clean up the project. Some forces may have been intentionally installed as part of an approved temporary operating condition.
Find out who installed them and why.
Step 6: Monitor Before You Modify
Find the routine that controls the problem and watch it through at least one normal machine cycle where possible.
Use:
- Cross Reference
- Find All
- Monitor Tags
- Trends
- Controller and module diagnostics
- Live ladder-logic monitoring
Confirm what the existing program actually does.
For example, when a motor will not start, identify:
- The physical start request
- Safety and process permissives
- Interlocks
- Mode-selection logic
- Output command
- Physical output and starter feedback
Do not modify the first false instruction you see. It may be false for a perfectly good reason.
Step 7: Understand Immediate Online Changes
Not every online modification uses the ladder-edit procedure.
Some property changes are sent to the controller when you select Apply. Certain values are transmitted as soon as you press Enter or move away from the field. Online tag-value edits can also be committed directly to the controller.
This means that changing a tag from:
0to:
1may affect the running process immediately.
Before writing any value, check:
- Is the tag written elsewhere by the program?
- Is it an HMI command?
- Is it used by multiple routines?
- Does it control a real output?
- Is it retained through power cycles?
- Is it part of a motion, drive or sequence command?
Never use tag changes as casual troubleshooting buttons.
Step 8: Start a Pending Ladder Edit
For a normal ladder-logic change, right-click the rung and select:
Start Pending Rung EditsStudio 5000 creates an editable copy of the rung. The original rung continues running at this point.
Make the required modification carefully.
Good practice is to change one small, clearly understood section at a time. Avoid mixing a repair with unrelated cleanup, tag renaming and program restructuring. A breakdown is not the ideal moment to reorganize the entire PLC project.
Before accepting the edit:
- Check every branch
- Verify tag names
- Confirm instruction types
- Review normally open and normally closed conditions
- Look for duplicate output instructions
- Cross-reference newly used tags
- Check whether the edit changes sequence timing
- Confirm that the rung will behave safely during transitions
Then verify the routine.
Step 9: Accept the Pending Edit
Select:
Accept Pending Rung EditsAccepting the edit sends the edited version to the controller, but it does not immediately make that version execute. The original logic remains active until you place the edit into Test mode.
This is an important checkpoint.
Pause here and review both versions:
- Original — the logic currently running
- Test Edits — the proposed replacement logic
Ask one last question:
What could happen the instant this edit begins running?
That includes what happens during the middle of a machine cycle—not only from a clean stopped state.
Step 10: Test the Edit
When the machine is ready and affected personnel have been warned, select:
Test EditsThe controller begins executing the edited logic.
The active routine version is normally identified by the green border. Rockwell notes that the Test Edits view can exist in the controller without running; it runs only when the online edit state is actually set to Test.
Observe the machine closely.
Check:
- Did the intended problem disappear?
- Did the output change at the correct time?
- Are the interlocks still effective?
- Does the sequence recover correctly?
- Does the logic behave correctly in both manual and automatic modes?
- What happens when the command is removed?
- What happens during fault reset?
- Did cycle time or task execution change unexpectedly?
- Are any unrelated machines or routines affected?
Testing only the happy path is not enough. Confirm the off condition, reset condition and abnormal condition as far as the approved test permits.
Step 11: Untest or Cancel a Bad Edit
When the test does not behave correctly, do not start piling additional changes on top of it.
Select:
Untest EditsThe controller returns to executing the original logic. You can then revise the pending edit or cancel it.
Rockwell’s online-edit process allows you to return from Test mode to the original routine before making the edit permanent.
Be careful here:
- Untest returns execution to the original version but keeps the edit available.
- Cancel Accepted Edits removes the accepted edit and retains the original logic.
- Cancel Pending Edits discards edits that have not yet been accepted.
Read the confirmation window rather than approving it from muscle memory.
Step 12: Assemble the Successful Edit
After the edit has been tested successfully, select:
Assemble EditsAssembling replaces the original routine with the tested version in both the controller and workstation. The routine then leaves Test Edits mode.
This makes the change permanent inside the running controller.
For important production changes, using the individual sequence is safer than jumping directly to a broad Finalize All Edits command:
Accept → Test → Observe → AssembleEach stage creates a deliberate checkpoint.
Step 13: Save the Updated Project
After assembling the edit, save the project.
A sensible file name might be:
MachineName_after_edit_2026-08-05.acdWhen saving while online, Studio 5000 may prompt you to upload current tag values before saving. That can capture live tuning values and data changes from the controller in the project file.
Remember that online controller changes and project-file changes are not the same thing.
An edit may already be operating in the controller even though you have not saved the .ACD file. Closing without saving can leave the file unable to correlate later without another upload or download.
Store both the before and after versions according to your site’s backup procedure.
Step 14: Document the Change
Record:
Date and time:
Controller:
Routine and rung:
Original behavior:
Change made:
Reason:
Testing completed:
Person approving:
Backup location:
Forces present:
Controller mode when finished:
Add a clear rung comment where appropriate.
Avoid comments such as:
Changed by maintenanceA more useful comment is:
Added conveyor-running feedback permissive to prevent
transfer command when downstream conveyor is stopped.
Changed 2026-08-05 under work order 12345.
Six months later, that explanation may save someone from removing a necessary condition.
Things You Should Not Do Online
Do not download just to establish communications
Upload first when you are unsure which project is current. A download replaces the controller project with the offline file.
Do not change controller mode casually
Switching from Run to Program stops logic execution and changes how the control system behaves. Coordinate mode changes as controlled machine operations.
Do not enable forces without reviewing them
Existing force values may take effect immediately when forces are enabled.
Do not edit safety logic as an ordinary production change
GuardLogix safety modifications may require safety unlocking, validation, signature management and documented functional testing. Follow the site’s safety-lifecycle procedures.
Do not leave test or pending edits behind
A future technician may not know whether those edits are approved, abandoned or currently executing.
Do not modify several unrelated routines at once
Make the smallest change that solves the verified problem. Large batches of edits are harder to test and much harder to reverse safely.
Quick Safe-Editing Checklist
[ ] Machine and personnel are in a safe condition
[ ] Operator and affected personnel have been informed
[ ] Correct controller and communication path confirmed
[ ] Current approved project obtained
[ ] Before-edit backup created
[ ] Go Online selected—not Download
[ ] Project correlation verified
[ ] Controller mode and faults checked
[ ] Existing pending or test edits reviewed
[ ] I/O force status checked
[ ] Existing logic monitored before modification
[ ] Edit verified and cross-referenced
[ ] Pending edit accepted
[ ] Test conditions agreed
[ ] Edit tested while machine was closely observed
[ ] Successful edit assembled
[ ] No abandoned edits remain
[ ] Updated ACD file saved
[ ] Change documented
Final Thoughts
Safe online editing in Studio 5000 is not about clicking slowly.
It is about knowing exactly when a change moves from your computer into the controller—and when that change begins controlling real equipment.
The safest workflow is straightforward:
Verify the controller
Back up the project
Go online
Monitor the existing logic
Create a small pending edit
Accept it
Test it carefully
Assemble it
Save and document everything
Most accidents happen when one of those steps is skipped because the change appears simple.
Simple changes still deserve a proper process.