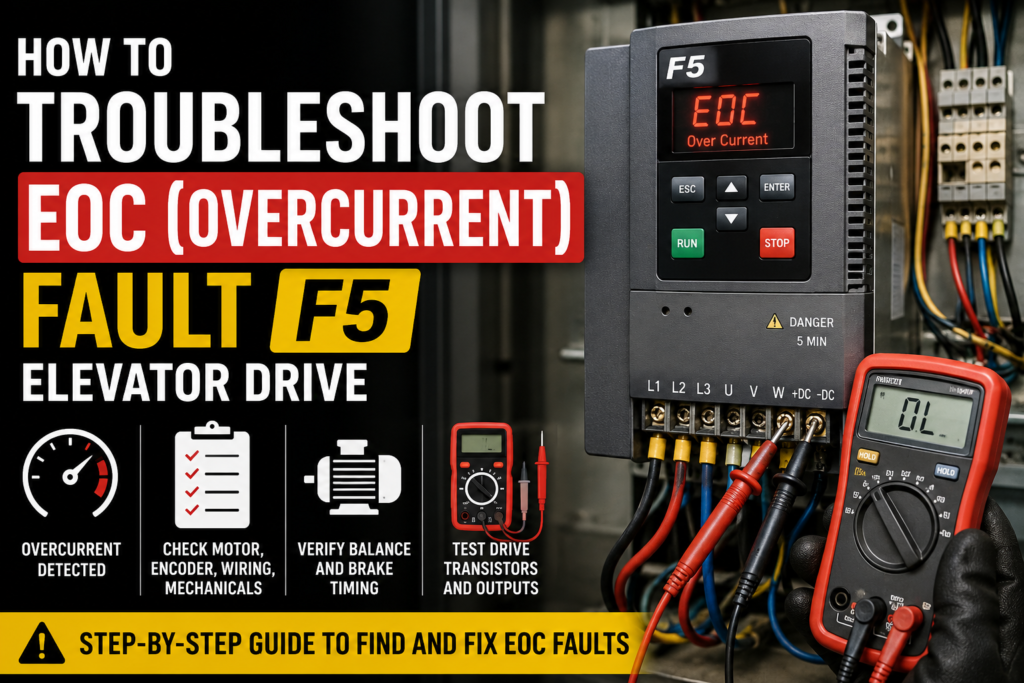
An EOC fault means Error Over Current.
In simple words, the elevator drive has detected that the motor current is too high. The drive is protecting itself, the motor, and the elevator system by stopping operation.
This fault can happen for several reasons, such as:
Motor data entered incorrectly
Encoder problems
Mechanical parts holding the motor back
Incorrect counterweight balance
Shorted drive transistors
Loose or damaged motor wiring
Too aggressive acceleration or deceleration settings
The correct troubleshooting method depends on when the fault happens.
Before making changes, always make sure the correct job-specific parameters have already been entered into the drive. Also make sure any required motor learn or encoder learn procedures have been completed.
This guide is written for trained elevator technicians. Elevator systems can be dangerous, so always follow proper safety procedures and local regulations.
1. EOC Fault During Initial Startup
This section applies when the elevator car has never run correctly before.
In this case, the problem is usually related to motor data, encoder data, wiring, or a mechanical issue.
When we say the car has “run,” we mean it can move in a controlled way in both directions.
Step 1: Check the Motor Data
First, compare the motor data entered in the drive with the motor nameplate.
Check values such as:
Motor voltage
Motor current
Motor speed
Motor power
Motor frequency
Motor type
Motor pole count
The motor nameplate data must match the drive parameters.
If the motor data is wrong, the drive may calculate motor control incorrectly. This can cause high current and trigger an EOC fault.
Also check the motor pole count. It should be close to a whole even number.
If you change any motor data, redo the motor learn procedure.
Step 2: Check the Encoder Data
Next, check the encoder settings.
The encoder data in the drive must match the actual encoder installed on the motor.
Check things like:
Encoder type
Encoder resolution
Encoder channels
Encoder direction
Encoder wiring
For permanent magnet motors, also check for encoder movement during the learn process.
If the encoder movement is more than about 2000 counts, change the encoder channels and repeat the encoder learn.
If the encoder position still moves too much, the issue may be caused by:
Incorrect motor data
Incorrect encoder setup
Bad encoder mounting
Damaged encoder
Wrong encoder wiring
The drive needs correct encoder feedback to control the motor properly. If the encoder information is wrong, the motor can draw too much current very quickly.
Step 3: Check if the Drive Transistors Are Shorted
If the motor and encoder data look correct, check the drive output transistors.
A shorted output transistor can cause an overcurrent fault immediately when the drive tries to run.
There are two common ways to check this:
Perform a transistor test with a multimeter using diode check mode
Or test the drive with the motor leads removed, if the procedure is allowed for that application
If the transistor test fails, or if the drive still shows EOC with the motor leads disconnected, the drive output section may be damaged.
In that case, the drive may need to be repaired or replaced.
Be careful with this test on permanent magnet motors. Changing the motor type or defaulting parameters is not recommended unless you know exactly what you are doing, because it can reset important drive settings.
Step 4: Check for Mechanical Problems
If the electrical setup looks correct, check whether something is physically preventing the motor from turning.
Possible mechanical causes include:
Brake not releasing
Rope gripper holding
Governor issue
Safeties engaged
Mechanical binding
Other elevator devices holding the car or motor
If the motor is trying to move but something is holding it back, the current can rise very fast. The drive sees this as an overcurrent condition and trips with EOC.
Sometimes the drive is not the real problem. The drive is only reacting to a mechanical problem.
2. EOC Fault While Running on Inspection
This section applies when the elevator car can run on inspection, but the EOC fault appears during inspection movement.
Step 1: Check the Motor Current
Look at the motor current on the drive display or in the drive parameters.
Check the current while running in both directions.
If the current is high in both directions, go back to the first section: Car Has Never Run. This could point to motor data, encoder data, wiring, or mechanical problems.
If the current is high in only one direction, the elevator may not be balanced correctly.
Step 2: Check the Counterweight Balance
If current is much higher in one direction, check the elevator balance.
Put the correct balanced load in the elevator car and check the current again.
The current should be low and similar in both directions.
If the current is not balanced, adjust the car weight or counterweight.
Adding weight to the car has the same effect as removing weight from the counterweight.
Removing weight from the car has the same effect as adding weight to the counterweight.
Poor counterweight balance can make the motor work much harder in one direction. This can cause an EOC fault.
Step 3: Check if the Fault Happens When the Brake Drops
If the EOC fault happens at the end of the run when the brake drops, this is usually not a drive setting problem.
It may be a brake timing or mechanical issue.
For example, the brake may be closing while the motor is still moving slightly. This can create a sudden load on the motor and cause an overcurrent fault.
In this case, check the brake timing and consult the elevator controller manufacturer or OEM documentation.
3. EOC Fault While Running in Automatic Mode
This section applies when the elevator runs on inspection, but the EOC fault happens during automatic operation.
Step 1: First Check Inspection Current
Before changing automatic operation settings, check how the elevator runs on inspection.
If the current is already too high on inspection, fix that problem first.
Automatic operation will not run properly if inspection current is already incorrect.
Step 2: Check the Elevator Balance
Make sure the car is properly balanced with the counterweight.
If the elevator is not balanced correctly, automatic operation can put too much load on the motor, especially during acceleration and deceleration.
Step 3: Reduce Acceleration or Deceleration Load
If the fault happens during acceleration or deceleration, the drive may be trying to move the car too aggressively.
You can reduce the load on the drive by adjusting:
Acceleration rate
Deceleration rate
S-curve settings
Contract speed
Counterweight balance
Lower acceleration and deceleration settings can reduce peak motor current.
If the EOC fault happens immediately when the car starts moving, do not focus only on automatic speed settings. Go back and check inspection current, motor data, encoder data, mechanical issues, and wiring.
4. EOC Fault During 125% NTS Test
During a 125% NTS test, the elevator system is under higher load than normal.
Because of this, the drive may see higher current during deceleration or stopping.
Possible steps include:
Lower the deceleration rate
Reduce the load placed on the drive
Check counterweight balance
Add weight to the counterweight if needed
Contact technical support if the current is still too high
If the car does not run with acceptable current in inspection or automatic mode, fix those issues before focusing on the NTS test.
5. EOC Fault on an Existing Elevator
This section applies when the elevator was already running normally before, but now it suddenly shows an EOC fault.
In this case, the drive parameters are usually not the first thing to suspect.
Why?
Because if the motor data or encoder data were completely wrong, the elevator probably would not have run correctly before.
So on an existing unit, start by looking for hardware, wiring, or mechanical problems.
Important note: on many F5 elevator drive systems, parameters are stored in the keypad. If the drive needs to be repaired or replaced, keep the keypad so the parameters can be transferred or reviewed later.
Step 1: Does the Fault Happen Immediately?
If the EOC fault appears immediately when trying to run, check the drive output transistors.
A shorted transistor can cause an overcurrent fault even before the motor really starts moving.
Use the transistor test procedure from the drive manual.
You will need a multimeter with diode check mode.
If the test readings are not correct, the drive output transistors may be shorted and the drive may need repair or replacement.
Step 2: Test With Motor Leads Removed
Another possible test is to remove the motor leads from the drive output terminals and try running the drive in open loop mode.
If the drive still shows EOC with the motor leads removed, the drive output section is likely damaged.
If the drive shows a different error, the output transistors may not be shorted.
This test should only be done by qualified technicians. Be especially careful with permanent magnet motors, because changing motor type or loading default parameters can erase important settings.
Step 3: Check Mechanical Devices
If the drive output section looks normal, check whether something is preventing the motor from turning.
Possible causes include:
Brake not releasing
Rope gripper engaged
Safeties engaged
Mechanical binding
Other elevator devices holding the system
If the motor is mechanically blocked, the drive will try to produce torque but the motor will not move properly. This can cause a fast increase in current and trigger EOC.
Step 4: Check Electrical Connections
Loose or damaged wiring can also cause overcurrent faults.
Check:
Motor cable connections
Drive output terminals
Motor terminal box
Ground connections
Signs of overheating or burning
Damaged cable insulation
A loose motor phase can create unstable current and cause the drive to fault.
Step 5: Check the Motor Windings
Measure the motor winding resistance.
Check phase-to-phase resistance:
U to V
V to W
U to W
The readings should be low and balanced.
Then check phase-to-ground resistance.
Phase-to-ground should show OL or a very high resistance value.
If the readings do not look correct, the motor may be shorted or damaged.
If normal resistance testing is not clear, perform an insulation resistance test with a megohmmeter, also called “megging” the motor.
6. Transistor Test Overview
To test the drive output transistors, you need a multimeter with a diode check function.
The drive must be powered down and safely discharged before testing.
The test usually checks the positive and negative side of the IGBT output circuit.
You will measure between the DC bus terminals and the motor output terminals.
The exact expected values depend on the drive size and model, so always compare your measurements with the drive manual.
If the measured values are very different from the expected values, the output transistors may be damaged.
To find the drive housing size, check the drive part number. The housing size is usually identified by a specific letter in the part number.
If you are not sure how to interpret the results, contact technical support or a qualified drive repair specialist.
Quick Troubleshooting Summary
If the car has never run:
Check motor nameplate data
Check encoder data
Redo motor learn if needed
Redo encoder learn if needed
Check for shorted drive transistors
Check brakes, rope gripper, governor, and safeties
If the fault happens on inspection:
Check motor current in both directions
If current is high both ways, check motor and encoder setup
If current is high one way, check counterweight balance
If fault happens when brake drops, check brake timing
If the fault happens in automatic:
Check inspection current first
Check counterweight balance
Lower acceleration rate
Lower deceleration rate
Adjust S-curve settings
Lower contract speed if needed
If the fault happens during 125% NTS test:
Lower deceleration rate
Reduce drive load
Check counterweight balance
Add counterweight if needed
Contact technical support if required
If the unit was running before:
Do not immediately change parameters
Check for shorted output transistors
Check motor wiring
Check motor winding resistance
Check phase-to-ground resistance
Check mechanical devices holding the motor
Final Thoughts
An EOC fault on an F5 elevator drive means the drive has detected too much current.
The drive may not be the main problem. It may only be reacting to another issue.
The most common causes include incorrect motor data, encoder problems, bad wiring, shorted drive transistors, poor counterweight balance, or a mechanical part holding the motor back.
The best troubleshooting method is to look at when the fault happens:
During first startup
During inspection
During automatic operation
During testing
Or on an existing elevator that was running before
Once you know when the fault appears, you can narrow down the cause much faster.
Always start with the basics: motor data, encoder data, current readings, wiring, and mechanical condition.
And most importantly, do not guess. Elevator systems are safety-critical, so troubleshooting should always be done carefully by trained personnel.