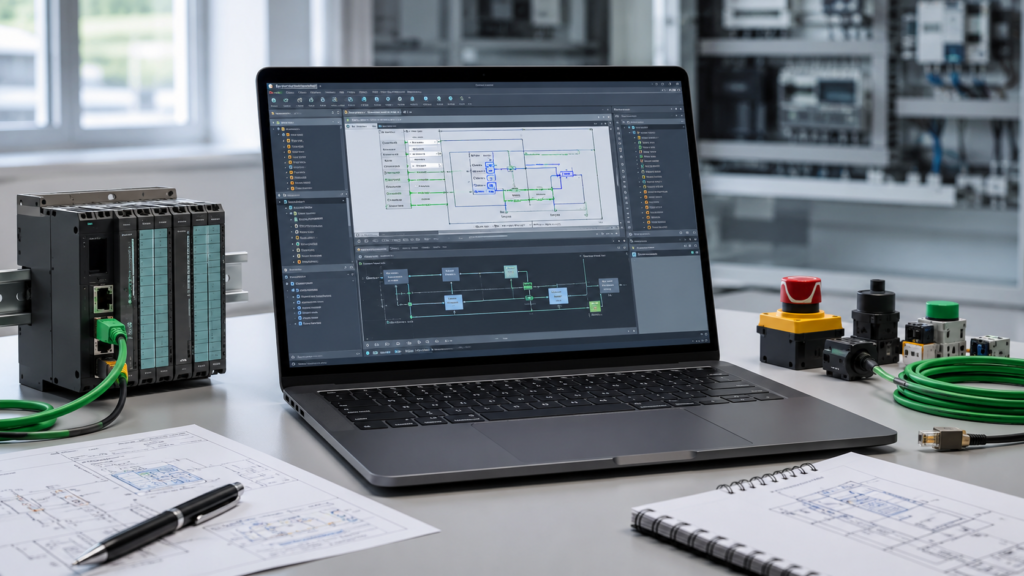
You can ping the CompactLogix. The Ethernet lights are flashing. The controller is powered and running.
Yet Studio 5000 still refuses to connect.
This is often not a PLC failure. In many cases, RSLinx Classic is using the wrong network adapter, the Ethernet driver is missing, or Studio 5000 is looking through a different communications service.
Here is the setup process from the beginning.
Important: Going online is normally read-only, but downloading a project can stop equipment and overwrite the program stored in the controller. Never select Download merely to test whether communications work.
Before Configuring RSLinx
First, confirm that your computer can reach the CompactLogix over Ethernet.
You need to know:
- The CompactLogix IP address
- Its subnet mask
- The IPv4 address assigned to your laptop’s Ethernet adapter
For example:
CompactLogix IP: 192.168.1.10
Laptop IP:       192.168.1.50
Subnet mask:     255.255.255.0
In this example, both devices are on the same local subnet.
Open Command Prompt and test the connection:
ping 192.168.1.10A successful reply confirms basic IP communication. It does not guarantee that Studio 5000 can establish a Logix connection, but it proves that the laptop can at least reach the controller.
When ping fails, check the physical cable, Ethernet-port indicators, laptop IPv4 configuration and controller address before changing anything in Studio 5000.
Also disconnect unnecessary VPN connections. VirtualBox, VMware, Wi-Fi, docking-station adapters and VPN software can create several network adapters, and RSLinx may end up browsing through the wrong one.
Step 1: Open RSLinx Classic
Open:
Start > Rockwell Software > RSLinx > RSLinx ClassicYou should see the main RSLinx Classic window.
Rockwell describes a driver as the software interface used by RSLinx Classic to communicate with a controller. Drivers are added and managed through Communications > Configure Drivers.
Step 2: Open the Driver Configuration
In RSLinx Classic, select:
Communications > Configure DriversThe Configure Drivers window contains two important sections:
- Available Driver Types
- Configured Drivers
If no suitable Ethernet driver is listed under Configured Drivers, you need to create one.
Step 3: Add an EtherNet/IP Driver
Under Available Driver Types, select:
EtherNet/IP DriverClick Add New.
Enter a simple name such as:
AB_ETHIP-1The name itself is not particularly important. It simply helps identify the driver later.
Click OK.
Step 4: Select the Correct Ethernet Adapter
RSLinx will ask which network adapter it should use.
Select the physical Ethernet adapter connected to the CompactLogix network. Do not automatically choose the first adapter in the list.
You may see adapters belonging to:
- Wi-Fi
- VMware
- VirtualBox
- A VPN
- A USB Ethernet adapter
- A docking station
- The laptop’s built-in Ethernet port
Choose the adapter whose IPv4 address is on the same network as the CompactLogix.
For example, if the PLC is 192.168.1.10, choose the adapter with an address such as 192.168.1.50, not an adapter using 10.0.0.x or 172.16.x.x.
RSLinx allows the network adapter to be selected when configuring an EtherNet/IP driver. Rockwell also notes that systems with multiple IP addresses or network adapters can affect which interface is available for browsing.
Select Browse Local Subnet, then click OK.
Back in the Configure Drivers window, the driver should show:
RunningWhen it says Stopped, select the driver and start it.
Step 5: Find the CompactLogix in RSWho
Open:
Communications > RSWhoExpand the new EtherNet/IP driver.
After a few seconds, the CompactLogix should appear underneath it. Depending on the controller model and project, you may see:
- The controller catalog number
- Its IP address
- The project name
- Additional Ethernet devices on the same network
A red X can briefly appear beside a device that is no longer available. Give RSLinx several seconds to refresh before assuming that the device has failed.
If the controller appears correctly in RSWho, the RSLinx driver is working.
Step 6: Connect Through Studio 5000
Open the correct Studio 5000 project.
Select:
Communications > Who ActiveIn newer releases, this may be called Network Browser. Rockwell changed the name from Who Active to Network Browser in Studio 5000 Logix Designer version 38 and later.
Expand the same Ethernet driver and select the CompactLogix controller.
Make sure you highlight the controller itself, not just the Ethernet network or another device.
You can then select:
- Go Online
- Upload
- Download
Use Go Online when the open project matches the program in the controller.
Use Upload when you need to retrieve the project stored inside the PLC.
Use Download only when you intentionally want to replace the controller’s existing project with the project open on your computer.
Rockwell’s documented process is to open Who Active or Network Browser, expand the communication path, select the controller and then choose Go Online. You can also select Set Project Path to save that route inside the project.
The Controller Appears in RSLinx but Not in Studio 5000
Studio 5000 version 31 and later can use either RSLinx Classic or FactoryTalk Linx for controller communications.
If you configured RSLinx correctly but Studio 5000 displays a completely different communication tree, check:
Communications > Select Communication SoftwareSelect:
RSLinx ClassicClose other Studio 5000 sessions before switching communication software.
Rockwell’s documentation confirms that Studio 5000 version 31 and later supports switching between RSLinx Classic and FactoryTalk Linx from the Communications menu.
With newer installations—particularly Studio 5000 version 38—the software may use FactoryTalk Linx and Network Browser instead of the older RSLinx Classic workflow. The basic Ethernet checks remain the same, but the driver is then configured through Network Browser rather than RSLinx Classic.
Alternative: Use the Ethernet Devices Driver
Sometimes the EtherNet/IP driver does not discover the controller even though you can ping it.
This can happen with certain VPNs, routed networks, virtual adapters or network configurations that block the discovery traffic used for automatic browsing.
In that situation, create a manual driver.
Open:
Communications > Configure DriversSelect:
Ethernet DevicesClick Add New, give the driver a name and enter the CompactLogix IP address into one of the station fields.
For example:
Station 0: 192.168.1.10Click OK, then open RSWho and expand the new driver.
Rockwell’s official procedure for the Ethernet Devices driver follows this same process: select Ethernet devices, add a new driver and enter the target IP address into a station field.
The Ethernet Devices driver is also useful when accessing equipment through NAT because it lets you define the address explicitly rather than relying on local-subnet discovery.
The PLC Appears, but Studio 5000 Still Cannot Go Online
At this point, the Ethernet driver probably is not the problem.
Check the following.
Studio 5000 Version Does Not Match the Controller Firmware
Logix controllers generally require Studio 5000 Logix Designer with the same major revision as the controller firmware.
For example:
Controller firmware:  v32.xxx
Required Studio 5000: v32
Having Studio 5000 version 33 installed does not automatically mean it can open a controller running version 32. Multiple major versions are commonly installed side by side.
Rockwell states that the controller firmware and Logix Designer application must use the same major revision level.
The Wrong Project Is Open
The controller may be reachable, but the offline project could contain:
- A different controller type
- A different firmware revision
- A different program
- A different controller serial number
- An incorrect communication path
Try selecting the controller through Who Active and choosing Upload rather than immediately downloading.
The Project Path Is Wrong
An old project may still contain a path from another laptop, driver or controller.
Open Who Active, highlight the correct CompactLogix and choose:
Set Project PathThen try Go Online again.
The Driver Is Using the Wrong Network Card
This is one of the most common causes.
Return to:
RSLinx Classic > Communications > Configure DriversSelect the EtherNet/IP driver and click Configure.
Verify that it is attached to the adapter physically connected to the PLC network.
The CompactLogix Uses Dual-IP Mode
Some CompactLogix 5380 controllers can operate their Ethernet ports in Dual-IP mode, meaning each port can belong to a different network.
Confirm that your cable is connected to the expected port and that you are using the IP address assigned to that port. CompactLogix 5380 controllers support configurable Ethernet ports and Dual-IP operation.
Quick Connection Checklist
Before spending an hour reinstalling software, check these items:
[ ] Controller is powered
[ ] Ethernet link lights are active
[ ] Laptop and PLC addresses are on compatible networks
[ ] CompactLogix responds to ping
[ ] VPN is disconnected
[ ] Correct Ethernet adapter is selected in RSLinx
[ ] EtherNet/IP driver shows Running
[ ] Controller appears in RSWho
[ ] Studio 5000 is using RSLinx Classic
[ ] Correct controller is selected in Who Active
[ ] Studio 5000 major version matches controller firmware
[ ] Correct project file is open
Final Thoughts
When Studio 5000 will not connect to a CompactLogix, start outside Studio 5000.
Confirm the network first. Then configure the RSLinx driver, verify the controller in RSWho and only after that attempt to go online.
The most common fix is surprisingly ordinary: select the correct Ethernet adapter.
When automatic browsing still refuses to cooperate, create an Ethernet Devices driver and enter the controller IP address manually. Once the PLC is visible in RSWho, any remaining problem is more likely to involve the Studio 5000 communication service, project path, controller type or firmware revision.